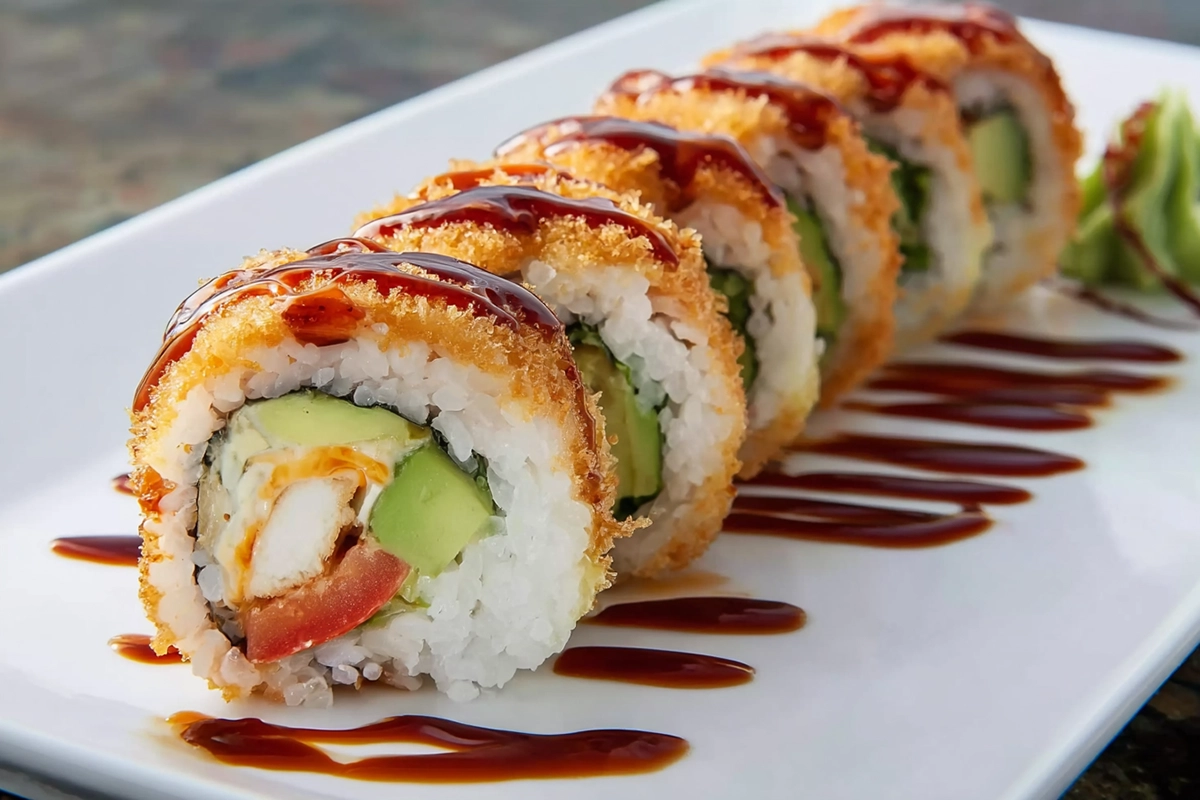
If you’ve ever craved that perfect blend of creamy, crunchy, fresh—then this California Crunch Roll is for you. In less than an hour, you can enjoy a California Roll variant that adds extra texture and flavor without overwhelming your kitchen (or your patience). For busy weeknights, family gatherings, or when you want to impress without stress, this recipe combines comfort, crunch, and fun in every bite.
Whether you’re new to homemade sushi or already have sushi rice down, the California Crunch Roll offers a delicious twist. And don’t worry—if you’ve ever been intimidated by rolling sushi, by the end of this you’ll feel confident. So grab your bamboo mat, your favorite fillings, and let’s roll into something crunchy, tasty, and totally satisfying.
Why You’ll Love This California Crunch Roll
-
Crunch Factor: Adds texture that makes it more exciting than a regular roll.
-
Balanced Flavor: Creamy avocado, maybe some crab or tofu, fresh cucumber—complementing the crisp element.
-
Accessible: Uses staples like sushi rice you likely have or can snag easily.
-
Customizable: You can adjust fillings or toppings without losing the signature crunch.
Ingredients
For Sushi Rice
-
2 cups (400 g) sushi rice
-
2 cups (480 ml) water
-
2 tbsp (30 ml) rice vinegar
-
1 tbsp (12 g) sugar
-
½ tsp (2.5 g) salt
-
1 piece kombu (optional, approx. 5×5 cm)
For the Roll Assembly & Crunch
-
Nori sheets
-
Fillings (e.g. imitation crab or cooked crab, avocado slices, cucumber strips)
-
Crunch stuff: panko breadcrumbs fried or baked, fried onions, tempura bits, or crushed chips
-
Optional: spicy mayo or unagi sauce for drizzling
Step-by-Step: How To Make California Crunch Roll Sushi
-
Rinse the Rice
Rinse 2 cups of sushi rice under cold running water until the water runs nearly clear. This removes excess starch so your sushi rice isn’t gummy. -
Soak and Cook
Combine rinsed rice with 2 cups of water and the optional piece of kombu in a rice cooker or pot. Let soak for 20–30 minutes. If using a pot, bring to a boil over medium heat, then reduce to simmer, cover, and cook until water is absorbed (~15 minutes). -
Steam and Rest
Once the water is absorbed, turn off the heat. Keep it covered and let the rice steam for another 5–10 minutes without lifting the lid. -
Season the Rice
In a small bowl, mix rice vinegar, sugar, and salt until dissolved. Transfer the cooked rice to a large, flat container. Remove the kombu if used. Gently fold the vinegar mixture into the warm sushi rice using a spatula or rice paddle—don’t stir aggressively to keep texture light. -
Cool Properly
Spread the seasoned rice out (in the container or a wide tray) and let it cool at room temperature. Avoid refrigerating while hot to prevent hardening. -
Roll
Place a sheet of nori on your bamboo mat. With wet hands, spread an even layer of sushi rice. Flip so rice is facing down if you prefer inside-out style, or leave rice exposed. Add your fillings (crab, avocado, cucumber). Press gently. -
Add Crunch
For the crunch: press panko or tempura bits on the outside of the roll, or sprinkle crunchy onions or chips inside or on top. -
Slice and Serve
Using a sharp, wet knife, slice the roll into 6–8 pieces. Wipe the knife between cuts so slices stay clean. Drizzle sauces if desired.
Cooking Tips (With a Smile)
-
Use short-grain sushi rice—long-grain won’t stick the right way.
-
Keep your hands damp when handling sushi rice; dry hands = sticky mess (been there).
-
If you use kombu, it adds subtle umami; just remove before seasoning.
-
For crunchy toppings, lightly toast or fry panko so it’s golden—not burnt.
-
If your roll starts falling apart, don’t panic: press gently with the bamboo mat after adding filling before slicing.
-
Let sauces or crunchy bits be the spotlight—not overpowering.
Personal Anecdote
My first time making a California Crunch Roll at home, I tried to go overboard with crunchy bits—fried onions and chips and panko. It was… loud. In texture and flavor. My husband laughed (lovingly) as the roll fell apart mid-slice. But the taste? Absolutely worth it. Since then, I’ve learned balance: a modest crunch on the outside, clean fillings inside, rice that’s just sticky enough. And every single time I roll, I remember that first messy attempt—and how proud I was to finally get it right. Homemade sushi isn’t about perfection—it’s about joy, touch, and that first satisfying crunch.
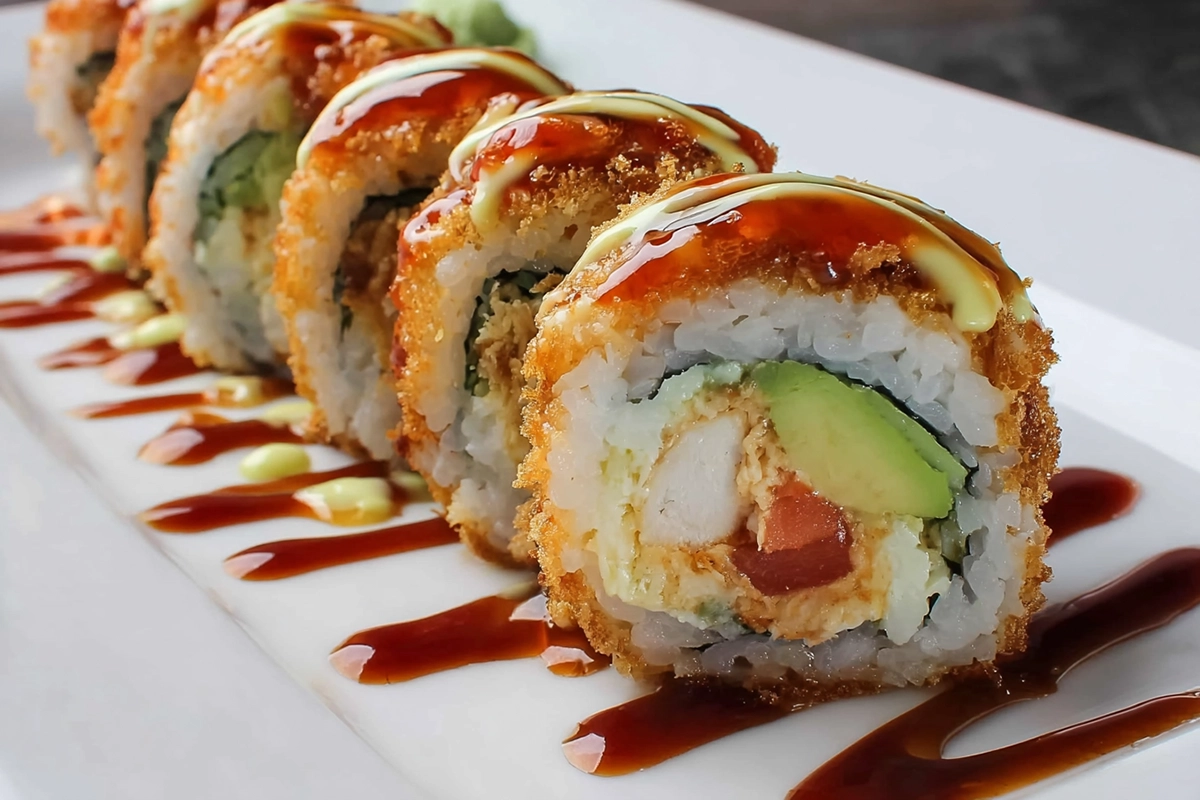
What to Serve With Your California Crunch Roll
To elevate the experience, pair with:
-
Thin slices of pickled ginger and a dollop of wasabi (or substitute with wasabi powder if you have it).
-
Soy sauce or tamari for dipping.
-
A light side like miso soup or seaweed salad to contrast the crunchiness.
-
Steamed edamame or cucumber salad for freshness.
-
Maybe even a crisp green tea or lightly sweetened iced tea to cleanse the palate.
These sides keep the meal balanced—you want that crunch to stand out, not compete.
How To Store Leftovers
-
Before storing, remove any crunchy bits or toppings that could go soggy.
-
Wrap leftover sushi rolls tightly in plastic wrap, then place in an airtight container.
-
Refrigerate—but eat within 24 hours for best texture. Sushi rice loses its ideal feel after a day.
-
Avoid freezing sushi—it changes texture and ruins the shine on sushi rice.
-
If cold rice feels a bit firm, let it sit at room temperature for 20 minutes before eating so the flavors are more pronounced.
FAQs
Q: Can I substitute rice vinegar with something else?
A: Yes—apple cider vinegar or diluted white vinegar can be used in a pinch. They’ll give a slightly different flavor, but your California Crunch Roll will still feel homemade and satisfying.
Q: What fillings work with this California Roll variant?
A: The classic combo is crab, avocado, and cucumber. But you can swap in shrimp tempura, smoked salmon, or even tofu. Just keep textures in mind so the “crunch” part still shines.
Q: How do I get my sushi rice just right?
A: Rinsing until water runs clear, soaking before cooking, steaming after boiling, and folding—not stirring—the vinegar mix keeps sushi rice fluffy and not too sticky.
Q: Is it possible to make this roll ahead of time?
A: You can prepare sushi rice earlier in the day. Store it covered at room temp (not fridge). Assemble rolls shortly before eating so crunch is fresh.
Bringing It All Together
Making a California Crunch Roll at home is more than just a fun recipe—it’s a little culinary adventure that rewards you with each bite. From the soft, lightly vinegared sushi rice to the creamy fillings, topped with that glorious crunch, this California Roll variant becomes a celebration in texture and flavor. Whenever I take that first bite, I feel proud—because I made it. And that’s the real magic of homemade sushi. So go ahead—roll, crunch, savor. You deserve this treat.
Discover more delicious recipes by following me on Facebook and Pinterest.
Print
California Crunch Roll Sushi
- Total Time: 45 minutes
- Yield: 4 rolls 1x
- Diet: Gluten Free
Description
The California Crunch Roll Sushi is a homemade twist on the classic California Roll, enhanced with a crispy topping like toasted panko or tempura bits for added texture. It balances creamy avocado, crab or tofu, and cucumber with vinegared sushi rice and crunchy garnishes. Perfect for beginners and sushi lovers alike, it’s a fun, accessible recipe you can customize and enjoy at home.
Ingredients
For Sushi Rice
-
2 cups (400 g) sushi rice
-
2 cups (480 ml) water
-
2 tbsp (30 ml) rice vinegar
-
1 tbsp (12 g) sugar
-
½ tsp (2.5 g) salt
-
1 piece kombu (optional, approx. 5×5 cm)
For the Roll Assembly & Crunch
-
Nori sheets
-
Fillings (e.g., imitation crab or cooked crab, avocado slices, cucumber strips)
-
Crunch toppings: fried panko breadcrumbs, crispy fried onions, tempura flakes, or crushed chips
-
Optional: spicy mayo or unagi sauce for drizzling
Instructions
-
Rinse the Rice
Rinse the sushi rice under cold water until it runs almost clear to remove excess starch. -
Soak and Cook
Soak rice with water (and kombu if using) for 20–30 minutes. Cook in a rice cooker or pot (remove kombu before boiling). Simmer until water is absorbed (~15 minutes). -
Steam and Rest
Turn off heat and let rice steam, covered, for another 5–10 minutes. -
Season the Rice
Dissolve sugar and salt in rice vinegar. Gently fold into warm rice. Avoid stirring to keep rice fluffy. -
Cool the Rice
Spread seasoned rice out to cool to room temperature. Don’t refrigerate while warm. -
Assemble the Roll
Place a nori sheet on a bamboo mat. With wet hands, spread a layer of rice. Flip for inside-out style or keep rice on top. Add fillings (crab, avocado, cucumber). -
Add Crunch
Press panko or other crispy toppings on the outside or sprinkle inside before rolling. -
Slice and Serve
Slice with a sharp, damp knife into 6–8 pieces. Wipe between cuts. Drizzle with sauces if using.
Notes
Use short-grain sushi rice for proper stickiness.
Wet hands prevent rice from sticking while handling.
Kombu adds subtle umami flavor—remove before seasoning.
Don’t overload with crunch—balance is key.
Toasted or lightly fried panko gives the best golden color and crisp.
Let sushi rice cool at room temperature, not in the fridge.
- Prep Time: 30 minutes
- Cook Time: 15 minutes
- Category: Plats
- Method: Assemblage / Sans cuisson (sauf riz)
- Cuisine: Japonaise - Fusion Californienne