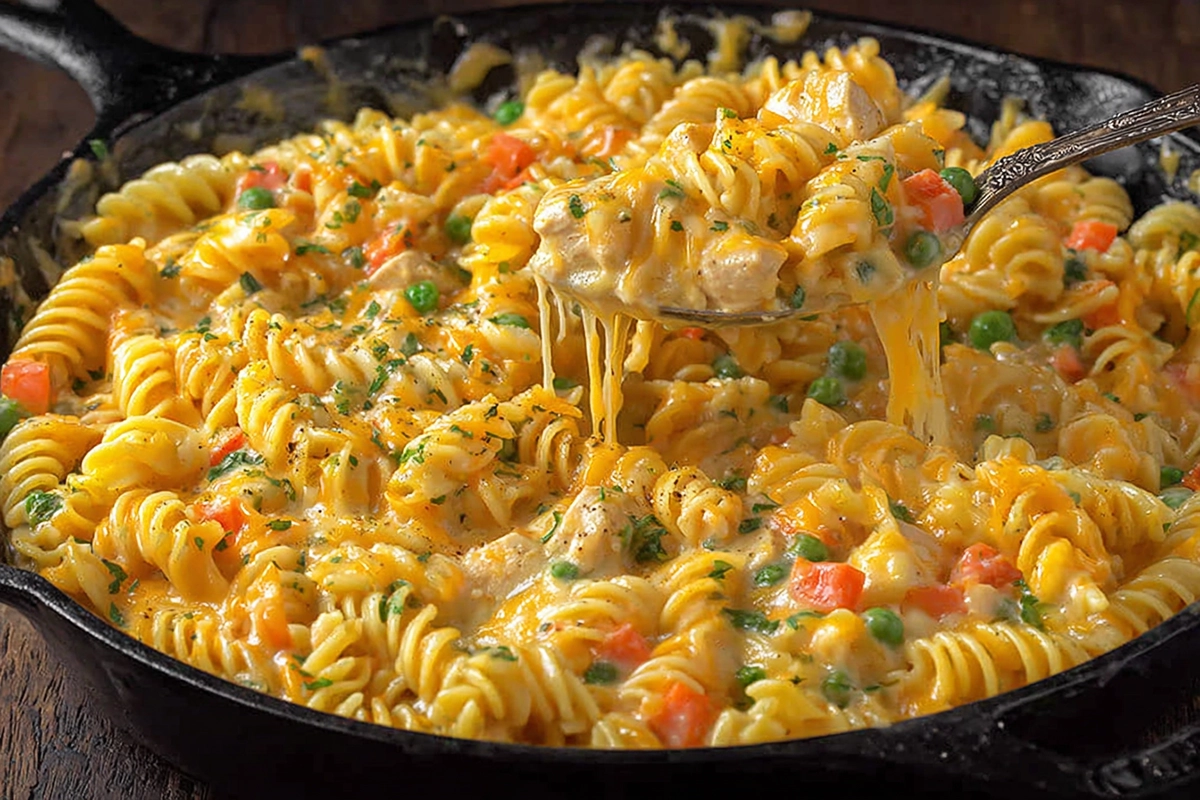
There are a few dishes that can wrap you in comfort quite like mac and cheese. But sometimes, even the most beloved classics deserve a little spice—and that’s where this Kicked Up Mac and Cheese steps in. It’s rich, creamy, and downright indulgent, but with just the right kick to make your taste buds dance.
Whether you’re a busy mom juggling dinner after soccer practice or a comfort food lover looking to spice up your pasta night, this recipe is your new best friend. It’s quick, hearty, and just the right amount of fiery. Plus, it sneaks in a few veggies (thank you, sweet peas and corn!) without compromising on that gooey, cheesy goodness we all crave.
This dish transforms your ordinary weeknight into a cozy little celebration—one spoonful at a time.
Why You’ll Love This Kicked Up Mac and Cheese
-
It’s the perfect balance of spicy mac and cheese and creamy indulgence.
-
You can have it on the table in under 30 minutes.
-
It’s family-friendly, with the option to control the heat.
-
It’s packed with flavor, texture, and—let’s be honest—cheese galore!

Kicked Up Mac and Cheese
- Total Time: 30 minutes
- Yield: 4 servings 1x
Description
Kicked Up Mac and Cheese takes your favorite comfort classic and gives it a bold, flavorful twist. Creamy cheddar and pimento cheese create a velvety sauce, while paprika and cayenne add just the right amount of kick. Sweet peas and corn bring texture and balance, turning this easy 30-minute meal into a cozy, crowd-pleasing dish with a little Southern charm and a whole lot of comfort.
Ingredients
-
8 oz elbow macaroni
-
2 tbsp unsalted butter
-
2 tbsp all-purpose flour
-
2 cups milk
-
1½ cups shredded cheddar cheese
-
1 cup pimento cheese spread
-
1 can Libby’s Sweet Peas, drained
-
1 can Libby’s Whole Kernel Sweet Corn, drained
-
½ tsp paprika
-
¼ tsp cayenne pepper (optional for spice)
-
Salt and black pepper, to taste
-
Breadcrumbs and olive oil (optional, for topping)
Instructions
-
Cook Pasta: Bring salted water to a boil, cook macaroni until al dente (8–10 minutes), then drain.
-
Make the Roux: Melt butter in a saucepan over medium heat. Whisk in flour and cook 1 minute until smooth and slightly golden.
-
Add Milk: Gradually whisk in milk until the mixture thickens, about 3–4 minutes.
-
Add Cheese: Lower heat, stir in cheddar and pimento cheese until creamy.
-
Season: Add paprika, cayenne (if using), salt, and pepper to taste.
-
Combine: Fold in macaroni, peas, and corn until evenly coated in sauce.
-
Optional Topping: Sprinkle breadcrumbs on top, drizzle with olive oil, and broil for 3–5 minutes until golden brown.
Notes
For extra spice, add hot sauce or diced jalapeños.
Swap cheddar for pepper jack or gouda for deeper flavor.
Add cooked bacon or shredded chicken for extra protein.
Avoid high heat when melting cheese—keep it gentle to prevent curdling.
Leftovers can be reheated with a splash of milk to restore creaminess.
- Prep Time: 10 minutes
- Cook Time: 20 minutes
- Category: Main Course
- Method: Stovetop / Optional Bake
- Cuisine: American
Ingredients You’ll Need
-
8 ounces elbow macaroni
-
2 tablespoons unsalted butter
-
2 tablespoons all-purpose flour
-
2 cups milk
-
1 ½ cups shredded cheddar cheese
-
1 cup pimento cheese spread
-
1 can Libby’s Sweet Peas, drained
-
1 can Libby’s Whole Kernel Sweet Corn, drained
-
½ teaspoon paprika
-
¼ teaspoon cayenne pepper (optional for spice lovers!)
-
Salt and black pepper to taste
-
Breadcrumbs and olive oil (optional for topping)
How to Make It
-
Cook the Pasta:
Bring a large pot of salted water to a boil. Add the macaroni and cook until al dente—about 8–10 minutes. Drain and set aside. -
Make the Roux:
In a large saucepan, melt the butter over medium heat. Whisk in the flour and cook for 1 minute until it forms a smooth paste. -
Add the Milk:
Gradually pour in the milk, whisking constantly until the sauce thickens—about 3–4 minutes. -
Get Cheesy:
Lower the heat and stir in the cheddar and pimento cheese until the sauce is smooth and oh-so-creamy. -
Add the Kick:
Sprinkle in paprika, cayenne (if you like it spicy), and season with salt and black pepper. -
Mix It All Together:
Gently fold in the macaroni, peas, and corn until everything is deliciously coated. -
Optional Crunch:
For a baked version, top with breadcrumbs, drizzle olive oil, and broil for 3–5 minutes until golden and crispy.
Cooking Tips for Perfect Creamy Pasta
-
Watch the heat: Cheese sauces are sensitive—keep the heat low when melting to prevent curdling.
-
Customize the spice: Not into heat? Skip the cayenne. Want more? Add a few dashes of hot sauce for a fiery finish.
-
Add protein: Toss in some cooked bacon or shredded rotisserie chicken for a heartier, easy dinner.
-
Cheese swap: Try a blend of pepper jack or smoked gouda for even more depth of flavor.
-
Breadcrumb hack: Mix breadcrumbs with a touch of melted butter before topping for an irresistible golden crust.
And if your sauce looks a little lumpy—don’t panic! It’s just the universe’s way of saying your comfort food is homemade and full of love.
A Bite of My Story
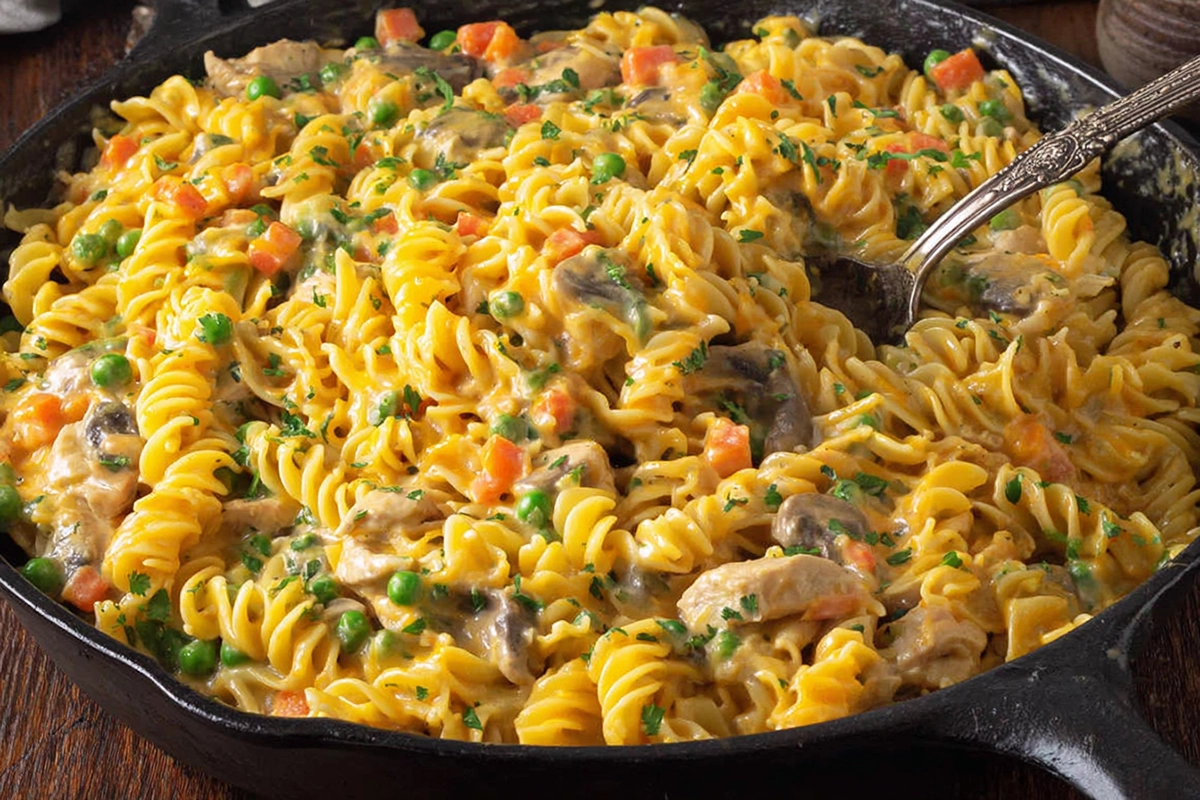
When I first created this Kicked Up Mac and Cheese, it was out of pure necessity. My kids love mac and cheese, but I needed a version that could excite my grown-up palate, too. So, I grabbed my trusty pimento cheese spread, tossed in a hint of cayenne, and voilà—dinner magic!
That night, the kitchen was full of laughter (and a few happy “mmm” sounds). My husband went back for seconds, the kids didn’t complain about the veggies (a miracle), and I realized this was one of those recipes worth keeping in rotation. It’s since become our family’s “Friday night comfort food.”
What to Serve with Kicked Up Mac and Cheese
This dish is hearty enough to shine solo, but if you want to make it a full spread:
-
Pair it with a crisp green salad dressed in lemon vinaigrette for a refreshing balance.
-
Add roasted veggies or garlic bread for that extra “wow” factor.
-
For a Southern twist, serve alongside fried chicken or BBQ ribs.
Oh, and don’t forget a cold glass of sweet tea or a light chardonnay—it’s the perfect pairing for this creamy, spicy goodness.
How to Store and Reheat
If you’re lucky enough to have leftovers (rare, but possible), here’s how to keep them fresh:
-
Refrigerate: Store in an airtight container for up to 4 days.
-
Freeze: Transfer to a freezer-safe dish and freeze for up to 2 months. Thaw overnight before reheating.
-
Reheat: Warm in the microwave with a splash of milk to bring back that creamy texture, or heat in the oven at 350°F until bubbly.
Avoid reheating too long—cheese sauce prefers gentle warmth over aggressive microwaving!
FAQs About This Cheesy Recipe
Can I make it ahead of time?
Absolutely! Assemble everything, cover, and refrigerate. When ready, bake it off with the breadcrumb topping.
Can I use another type of pasta?
Yes! Shells, cavatappi, or rotini all work great and hold the creamy sauce beautifully.
How spicy is it?
With just paprika, it’s mild. Add cayenne for a true spicy mac and cheese experience!
Can I skip the peas and corn?
Sure thing—but they add a sweet pop of color and texture that makes this cheesy recipe extra special.
Turn Up the Comfort with Every Bite
There’s something magical about a bowl of Kicked Up Mac and Cheese—it’s warm, comforting, and just adventurous enough to keep dinner exciting. This dish takes everything you love about classic comfort food and turns the flavor dial up to ten.
So next time you’re craving something creamy, cheesy, and full of personality, grab your spoon and dig into this recipe. Trust me, it’s the kind of meal that fills more than just your stomach—it fills your soul.
Discover more delicious recipes by following me on Facebook and Pinterest.