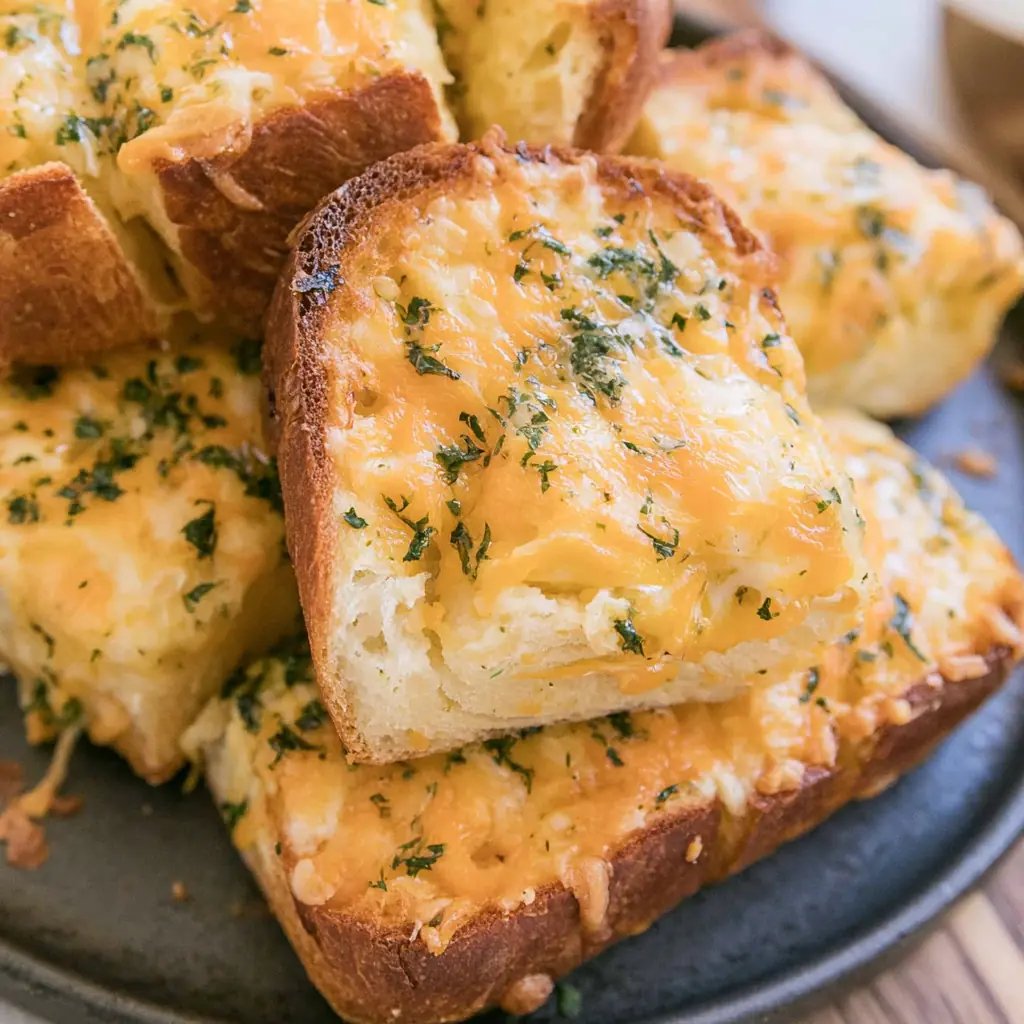
Hawaiian Roll Grilled Cheese Sliders turn a familiar comfort-food favorite into an easy oven-baked meal that feeds several people at once. Soft, lightly sweet rolls surround layers of melted cheddar, while garlic-herb butter creates crisp, golden edges. Because the oven cooks the whole batch together, you can skip standing over a skillet and flipping separate sandwiches. Serve these warm sliders with tomato soup for dinner, add them to a game-day spread, or pack a few into a kid-friendly lunch. With five minutes of preparation and basic ingredients, this recipe gives you hot, cheesy sandwiches with very little kitchen cleanup.
Story
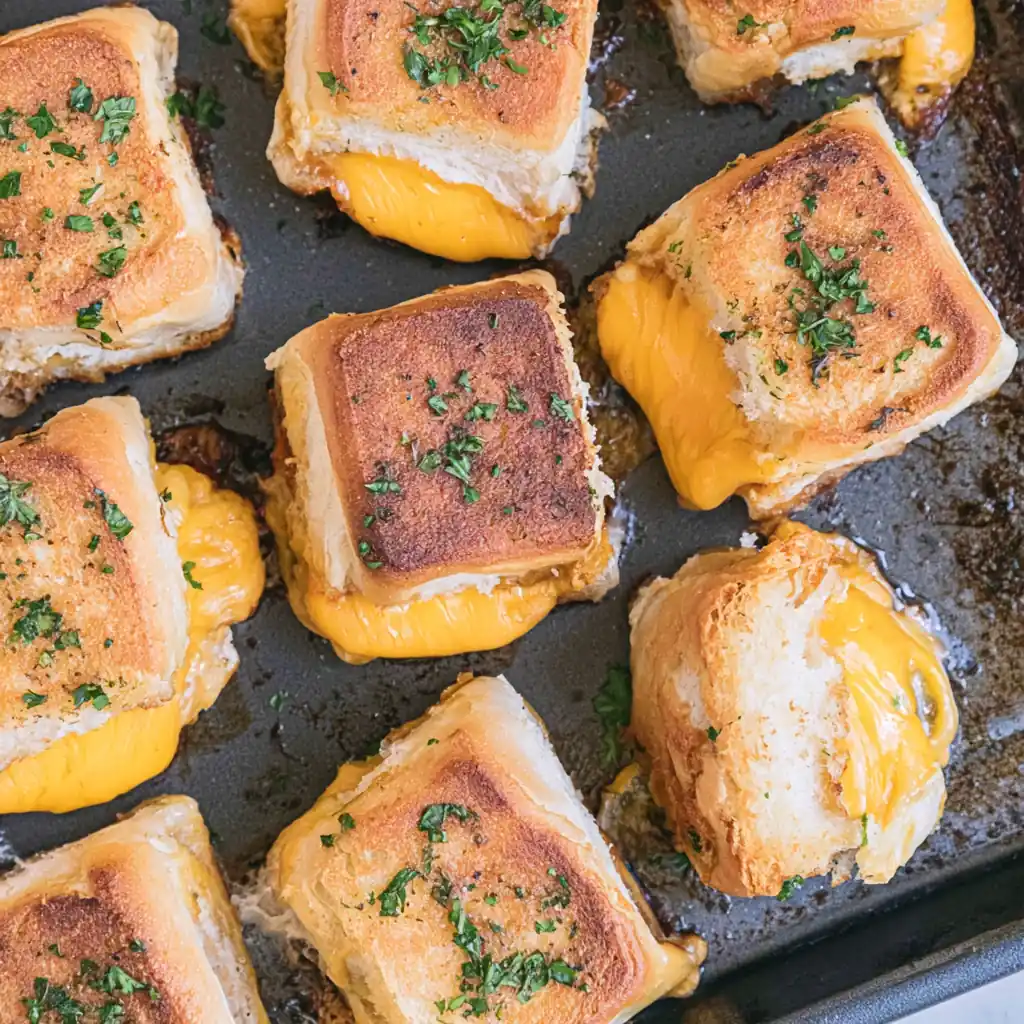
Grilled cheese and tomato soup always bring a cozy feeling to the table, especially on cool evenings or busy school nights. However, cooking several sandwiches in a skillet can become slow and frustrating because the first sandwich often cools before the last one finishes. Hawaiian Roll Grilled Cheese Sliders solve that problem by baking an entire batch at once. I also love how the sweet rolls balance sharp cheddar and savory garlic butter. Each slider develops a crisp exterior while the center stays soft and cheesy. Therefore, this recipe works equally well for family meals and casual gatherings.
The first time I served Hawaiian Roll Grilled Cheese Sliders with soup, everyone reached for seconds before I sat down. The small size makes them easy to dip, share, and arrange on a snack board. In addition, the pull-apart shape feels more inviting than full-size sandwiches. You can place the sliders in the center of the table and let everyone help themselves. These baked mini grilled cheese sandwiches also work well when children want familiar flavors but adults want something more flavorful than plain bread and cheese.
Although the ingredients remain simple, the seasoned butter gives Hawaiian Roll Grilled Cheese Sliders a satisfying finish. Garlic powder adds savory depth, oregano brings a mild Italian note, and parsley adds fresh color. Meanwhile, cheddar delivers the sharp, creamy flavor that makes grilled cheese so comforting. You can use only cheddar, or you can combine it with mozzarella or provolone for a stretchier center. Either way, these sweet roll sandwiches bake into golden, buttery bites that taste best while the cheese remains hot.
Ingredients
The ingredient list stays intentionally short, so every item contributes noticeable flavor or texture. Use fresh Hawaiian rolls that feel soft when gently pressed, and choose cheese slices that cover most of the bread. Softened butter spreads more evenly than cold butter and helps the herbs coat every cut surface. This recipe makes six servings, with two sliders per serving.
- 12 King’s Hawaiian sweet rolls
- 8 to 10 slices cheddar cheese
- 4 tablespoons unsalted or salted butter, softened
- 1 teaspoon garlic powder
- 1 teaspoon dried oregano
- 1 tablespoon chopped fresh parsley, optional
Step-by-Step Instructions
These sliders need only a baking sheet, parchment paper, a small mixing bowl, and a serrated knife. Before assembling them, move the oven rack to the center position so the bread browns evenly without scorching. Keep the rolls attached while you organize the ingredients, then separate or slice them as directed. Work gently because soft Hawaiian bread can compress under a dull knife.
Preparing the Ingredients
Preheat the oven to 350°F. Then line a large baking sheet with parchment paper for easier cleanup. Place the softened butter in a small bowl and stir in the garlic powder, oregano, and chopped parsley until the herbs look evenly distributed. Next, slice each Hawaiian roll vertically into three narrow sections, creating small bread pieces that resemble grilled cheese dippers. Alternatively, keep larger pieces when you prefer substantial sliders. Separate the cheese slices and trim them as needed so each piece fits the bread without hanging too far over the edges.
Spread the garlic-herb butter over the cut sides of every roll. Use a thin, even layer because too much butter can make the bottoms greasy before they turn crisp. Next, place cheddar between the bread pieces, covering as much surface as possible. Add an extra half slice to any slider that looks underfilled. Press the pieces together lightly so they hold their shape, but do not flatten the bread. Finally, arrange them on the prepared baking sheet with a little space between each slider.
Cooking Instructions
Place the baking sheet in the preheated oven and bake the sliders for about 10 to 12 minutes. Then carefully flip each slider with a thin spatula so both buttered sides brown evenly. Continue baking for another 8 to 13 minutes, or until the bread looks golden and the cheddar has melted through the center. Because ovens vary, begin checking the sliders after 18 minutes. Remove any pieces that brown faster than the others while the remaining sliders finish.
For a darker, crisper surface, turn on the broiler during the final 30 to 60 seconds. Watch the sliders constantly because sweet rolls can darken quickly under direct heat. Once the cheese bubbles near the edges, remove the pan from the oven. Let the sliders rest for two minutes, which gives the melted cheese enough time to settle without becoming firm. Serve them immediately with warm tomato soup, marinara sauce, ranch dressing, or another favorite dip.
Tips for Perfect Results
The strongest results come from balancing heat, butter, bread thickness, and cheese coverage. Hawaiian rolls contain sugar, so they brown faster than standard sandwich bread. Therefore, moderate oven heat works better than an extremely hot oven. You should also check that the butter reaches the edges, since bare sections may stay pale while heavily coated areas brown quickly. Finally, serve the sliders soon after baking because melted cheese develops its best texture while warm.
Common Mistakes to Avoid
Do not use cold butter directly from the refrigerator. It tears the tender rolls and forms thick patches that can leave greasy spots. Instead, let the butter soften at room temperature until it spreads easily. Also, avoid cutting the bread with a dull knife, which compresses the rolls and creates uneven pieces. Do not leave large areas without cheese because those sections may taste dry. Most importantly, do not walk away while broiling. Even 30 extra seconds can turn a golden top into a burned one.
Another common mistake involves packing the sliders too tightly on the baking sheet. When every piece touches, steam collects between the rolls and softens the exterior. Leave a small gap around each slider so hot air can circulate. Likewise, do not cover the pan with foil unless the tops brown before the centers melt. If that happens, loosely tent the sliders for several minutes, then uncover them near the end. This method keeps the bread tender without sacrificing the lightly crisp surface.
Pro Tips for Better Flavor
Combine sharp cheddar with low-moisture mozzarella when you want stronger flavor and a longer cheese pull. Provolone also melts smoothly and adds a mild, creamy taste. For gentle heat, add thin jalapeño slices or a small pinch of crushed red pepper inside each slider. You can also spread a very thin layer of Dijon mustard beneath the cheese for a tangy contrast. However, avoid wet fillings because tomato slices, watery sauces, or undrained vegetables can make the bread soggy.
For richer garlic flavor, add a small grated garlic clove to the butter, but reduce the garlic powder slightly. A light sprinkle of grated Parmesan over the buttered surfaces creates a salty, crisp coating. Meanwhile, flaky salt added immediately after baking gives each bite extra contrast. These small additions turn the recipe into memorable easy party food without making the preparation complicated. For a classic presentation, garnish the platter with parsley and place a bowl of tomato soup in the center.
Serving and Storage
These sliders fit several occasions because you can serve them as a snack, appetizer, lunch, or simple dinner. A full batch makes six moderate servings, although party guests may eat smaller amounts when other foods fill the table. For larger gatherings, double the recipe and bake two pans, rotating their positions halfway through. Keep the finished sliders uncovered until serving so condensation does not soften their crisp edges.
How to Serve
Serve Hawaiian Roll Grilled Cheese Sliders beside bowls of creamy tomato soup for a familiar comfort-food meal. Their narrow size makes them especially useful as dippers because guests can hold them without creating a large mess. For lunch, add apple slices, grapes, cucumber sticks, or a simple green salad. For game day, arrange the sliders with marinara, honey mustard, and ranch dip. You can also cut each slider into smaller pieces and secure them with decorative picks for a snack board or children’s party.
When serving a crowd, transfer the sliders to a warm platter shortly before guests arrive. Do not stack them deeply because the bottom pieces may soften under trapped heat. Instead, arrange them in a single layer or overlap them slightly. If the sliders sit for longer than 20 minutes, return them to a 300°F oven for three to five minutes. This brief warming period restores the cheese and refreshes the bread without causing excessive browning.
How to Store Leftovers
Let leftover sliders cool completely, then place them in an airtight container and refrigerate them for up to three days. Separate layers with parchment paper so melted cheese does not glue the sandwiches together. For the best texture, reheat the sliders in a 350°F oven for 8 to 10 minutes. You can also use an air fryer at 350°F for three to five minutes. Both methods restore crispness much better than a microwave.
Although the microwave heats them quickly, it can leave the bread soft or chewy. When speed matters, microwave one slider for 15 seconds, then finish it in a hot skillet for about one minute per side. You may also freeze cooled sliders in a freezer-safe container for up to one month. Thaw them overnight in the refrigerator before reheating. Freezing can slightly change the bread’s texture, so freshly baked or refrigerated leftovers give the best result.
Conclusion
Hawaiian Roll Grilled Cheese Sliders offer everything people love about classic grilled cheese in a quicker, shareable form. The sweet bread, sharp cheddar, and garlic-herb butter create crisp edges and a warm, creamy center. Because the oven cooks the entire batch together, this recipe suits busy lunches, casual dinners, parties, and soup nights. Try the basic version first, then add another melting cheese or a mild seasoning twist. Once you serve these golden sliders warm from the oven, they may become your favorite way to make grilled cheese for a group.
Discover more delicious recipes by following me on Facebook and Pinterest.
Frequently Asked Questions
What Cheese Melts Best in Hawaiian Roll Grilled Cheese Sliders?
Cheddar gives the sliders a familiar grilled cheese flavor, especially when you use medium or sharp cheddar. However, combining cheddar with mozzarella creates a softer, stretchier center. Provolone, Monterey Jack, Colby Jack, and American cheese also melt smoothly. Avoid using only aged, dry cheese because it may release oil or melt unevenly. For the strongest balance, pair a flavorful cheese such as sharp cheddar with a creamy melting cheese such as mozzarella or provolone.
Can I Assemble the Sliders Ahead of Time?
You can assemble the sliders several hours before baking, but wait to spread butter on the outer surfaces until close to cooking time. Arrange the cheese-filled rolls in an airtight container or cover them tightly on the baking sheet, then refrigerate them. Let the assembled sliders sit at room temperature for about 10 minutes while the oven preheats. Add the garlic butter, bake as directed, and allow a few extra minutes if the centers remain cold.
How Do I Keep the Sliders From Becoming Soggy?
Use a thin layer of softened butter, leave space between the sliders, and avoid watery fillings. Bake them uncovered so moisture escapes, then place them on a serving platter rather than leaving them on warm parchment. If you pair them with a tomato soup side, dip each slider only when eating instead of pouring soup or sauce over the bread. Finally, store leftovers only after they cool completely, since sealing warm sliders traps steam and softens the crust.
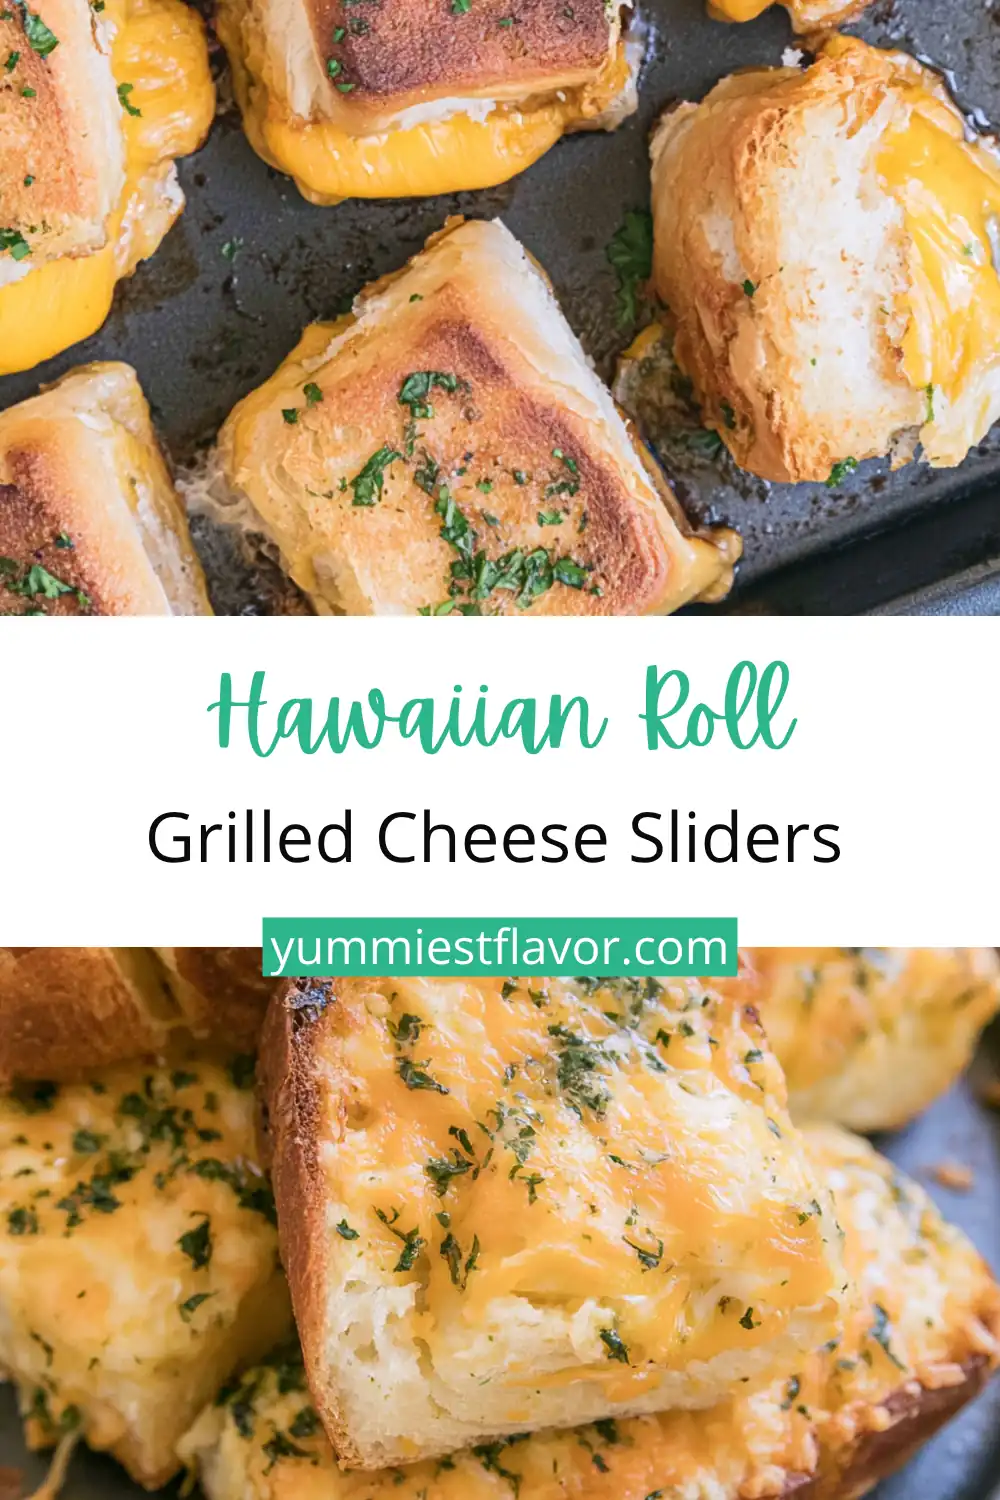

Hawaiian Roll Grilled Cheese Sliders
- Total Time: 23 minutes
- Yield: 6 servings 1x
- Diet: Vegetarian
Description
Buttery Hawaiian sweet rolls filled with melted cheddar cheese and baked until golden. These easy grilled cheese sliders are perfect with tomato soup, for game day, or as a kid-friendly lunch.
Ingredients
- 12 King’s Hawaiian sweet rolls
- 8 to 10 slices cheddar cheese
- 4 tablespoons butter, softened
- 1 teaspoon garlic powder
- 1 teaspoon dried oregano
- 1 tablespoon chopped fresh parsley, optional
Instructions
- Preheat the oven to 350°F and line a baking sheet with parchment paper.
- Mix the softened butter, garlic powder, oregano, and parsley in a small bowl.
- Slice each Hawaiian roll vertically into three narrow sections.
- Spread the garlic butter mixture evenly over the cut sides of the rolls.
- Layer the cheddar cheese between the rolls, making sure the cheese covers the bread.
- Arrange the sliders on the prepared baking sheet with a little space between them.
- Bake for 10 to 12 minutes, then carefully flip each slider.
- Continue baking for 8 to 13 minutes, until the bread is golden and the cheese has melted.
- For a crispier finish, broil for 30 to 60 seconds while watching closely.
- Let the sliders rest for 2 minutes, then serve warm with tomato soup, marinara, or your favorite dip.
Notes
- Cheddar is classic, but cheddar combined with mozzarella or provolone creates an extra-melty center.
- Use softened butter so it spreads evenly without tearing the rolls.
- Broil for only 30 to 60 seconds because Hawaiian rolls brown quickly.
- Cut the sliders into smaller dippers for parties or snack boards.
- Store leftovers in an airtight container in the refrigerator for up to 3 days.
- Reheat in a 350°F oven for 8 to 10 minutes or in a 350°F air fryer for 3 to 5 minutes.
- Prep Time: 5 minutes
- Cook Time: 18 minutes
- Category: Dinner, Snack
- Method: Baking
- Cuisine: American
Nutrition
- Serving Size: 2 sliders
- Calories: 425
- Sugar: 7
- Sodium: 690
- Fat: 27
- Saturated Fat: 16
- Unsaturated Fat: 9
- Trans Fat: 1
- Carbohydrates: 31
- Fiber: 1
- Protein: 16
- Cholesterol: 75